This post is not sponsored, all opinions and instructions are my own. Please DIY at your own risk. This post contains affiliate links. As an Amazon Associate & RewardStyle Influencer I earn a small percentage from qualifying purchases. Thank you for your support!
So you bought a hot cocoa bomb mold and lots melting chocolate. Maybe you made them once or twice and now the novelty is over until next winter… Or you can try something different.
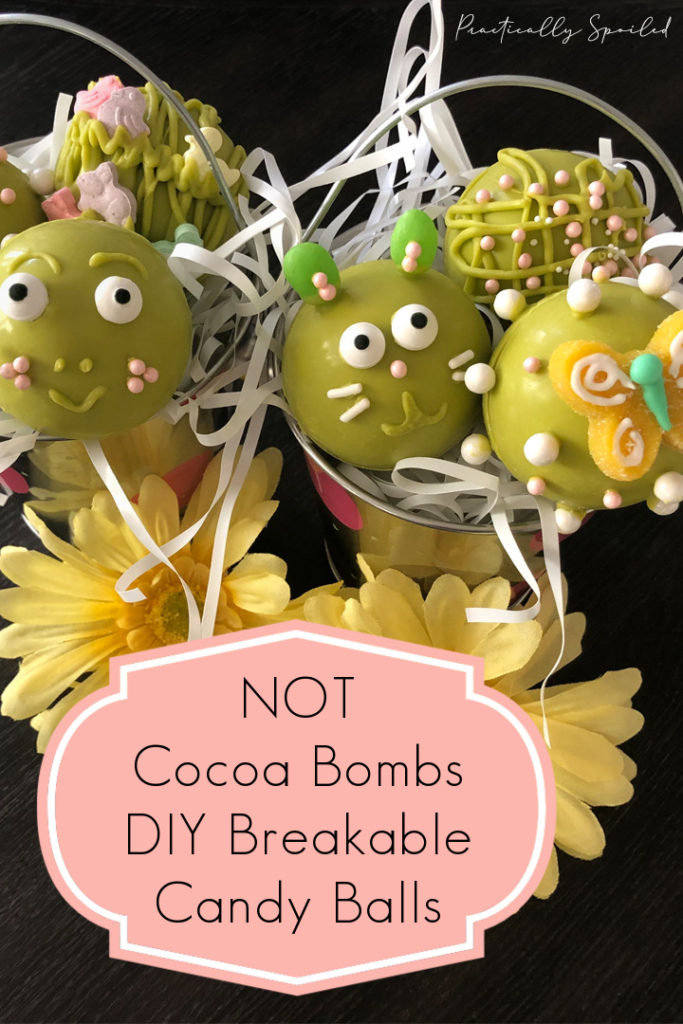
Wasn’t sure what to call these adorable candy creations, but I’m going with “NOT Cocoa Bombs”! These DIY treats are meant to be broken open to reveal candy and treats inside. My 3 year old and I decided to make Spring time themed ones as a special treat for us and our friends.
You make them essentially the same way you would make hot cocoa bombs (see my Valentine’s Cocoa Bombs here) with just a few modifications.
Here’s what we used:
• Candy Melting Wafers in your choice of colors/flavors like these or these (chocolate chips work too!)
• Candy of your choice (nothing too big, needs to fit in the sphere)
• Edible decorations. We used a variety sprinkles and these really cute edible candy eyes and edible gummy butterflies.
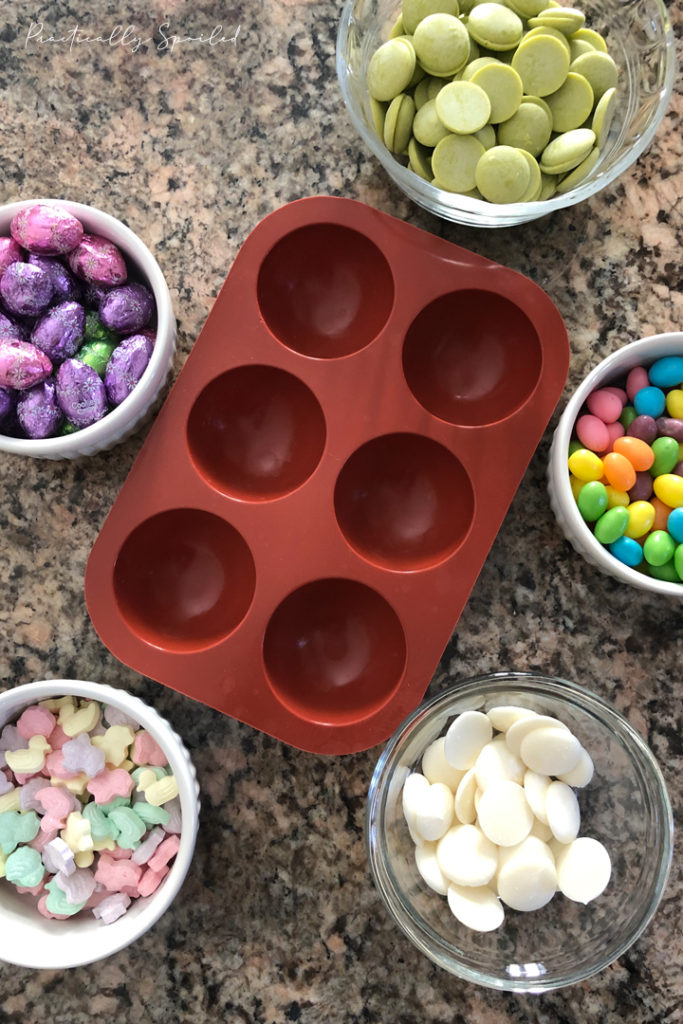
I melted the candy wafers in the microwave. Depending on how much and what brand you use, times will vary. A good rule of thumb is heat in 30 second intervals, mix well, then add time as needed until melted to be slightly drippy, but not runny.
Using a small spatula I coated the cocoa bomb molds. Spoons work fine too. You want to cover the area with a not-too-thick coating. The difference between these and the hot cocoa bombs is that you want the exterior to be a bit thinner so they’re easy to crack, but not too thin that it breaks when handling. (Note: I made mine a touch too thick, so it’s a little trial and error!) Try not to leave excess on the edges, wipe them up if they get messy. Then pop the molds in the fridge for 5-10 minutes to firm up. The molds are silicon and floppy so make sure to put them on a plate or tray for easy transfer in and out of the refrigerator.
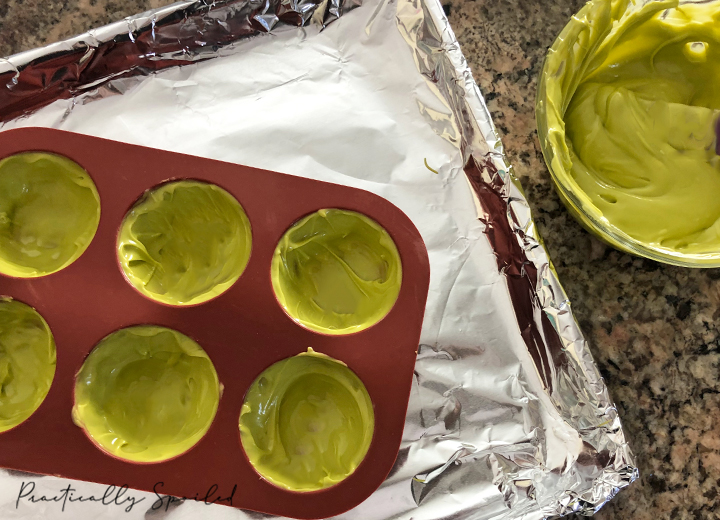
Once they’ve firmed up, you’ll want to do another thin layer over the first. Most likely your candy wafers and/or chocolate will need a few seconds of reheating and a mix-a-roo to get back to the right consistency. Then pop them back in the refrigerator for another 5-10 until they’re solid.
When they’re set it’s time to pop them out of the mold. Very carefully pull back the molds and push them out. Place them on some wax, parchment paper or tin foil. Some people say if you cut the molds apart (so each half sphere is separate) it makes this process much easier. If your hands are warm you might find that you’ll get a fingerprint or two on the half spheres. You can avoid this by wearing a pair of kitchen prep gloves.
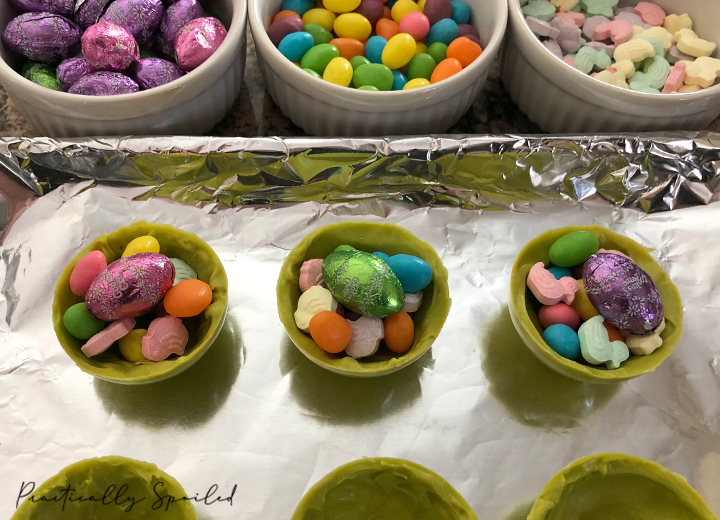
Now it’s time to fill them! Pretty sure at this point my daughter ate more candy than she filled these with, but she had fun. We used jelly beans, spring animal shaped candy, and chocolate eggs.
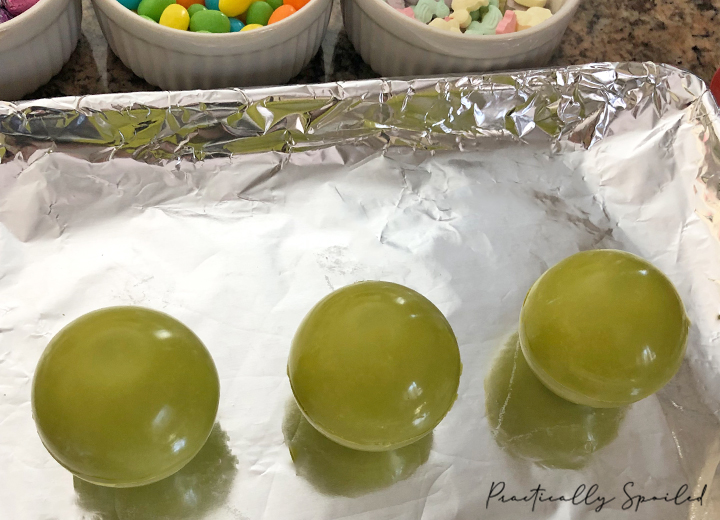
To seal them up, place a non stick frying pan on the stove and warm it for about 2 minutes on med-low then turn off the stove. Grab a top and quickly touch it to the hot pan to lightly melt the edges. Place it directly on top of the filled side and hold it for a moment while it sets up. Once you’ve capped them, decorate them how ever you please!
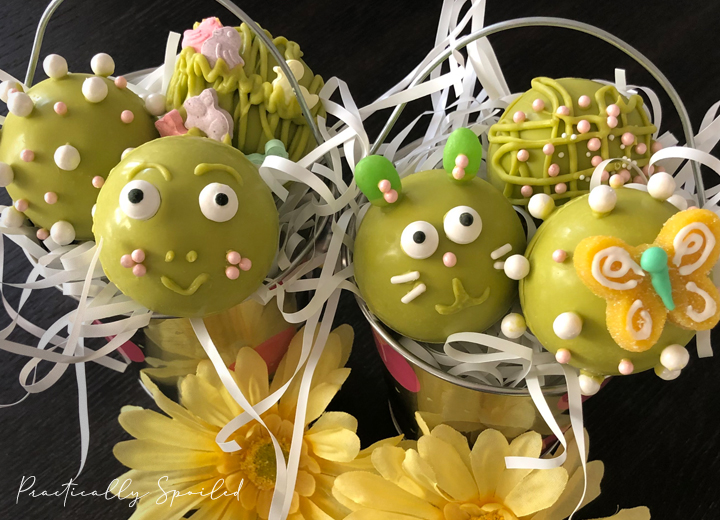
For our Spring theme we made a few free form designs with sprinkles, then by specific toddler request: a frog, a bunny, a butterfly, and “animals in the grass”. We put them in some cute tin mini buckets that were filled with Easter grass. I later wrapped them in cellophane for gifting.
They came out pretty cute – if I don’t say so myself! But, as cute as they are, the fun is in breaking them open…
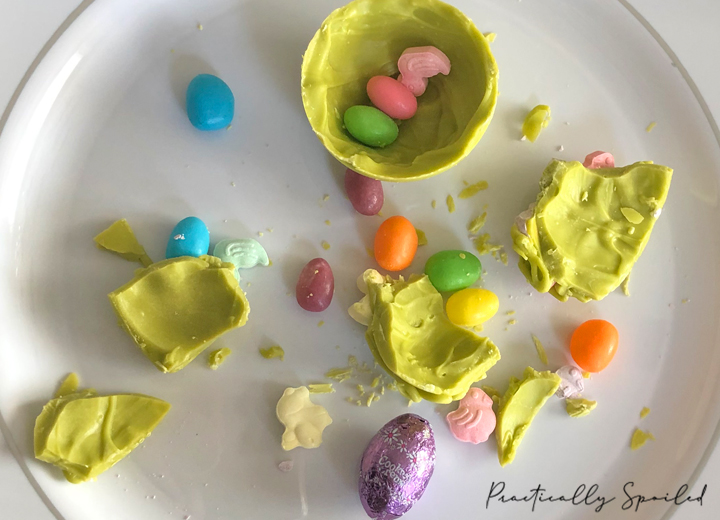
Because ours were a little thick, we used an ice cream scoop to crack them open. But if you make them thinner they should crack fairly easily with a spoon. And obviously, use a plastic or paper plate to break them on…
If you have hot cocoa bomb supplies lying around, this is a great way to use them when it’s not hot cocoa season. These would also make great party favors if you include one of these mallets! Will you be giving “Not Cocoa Bombs” a try?

Leave a Reply