This post is not sponsored, all opinions and instructions are my own. Please DIY at your own risk. This post contains affiliate links. As an Amazon Associate & RewardStyle Influencer I earn a small percentage from qualifying purchases at no cost to you. Thank you for your support!
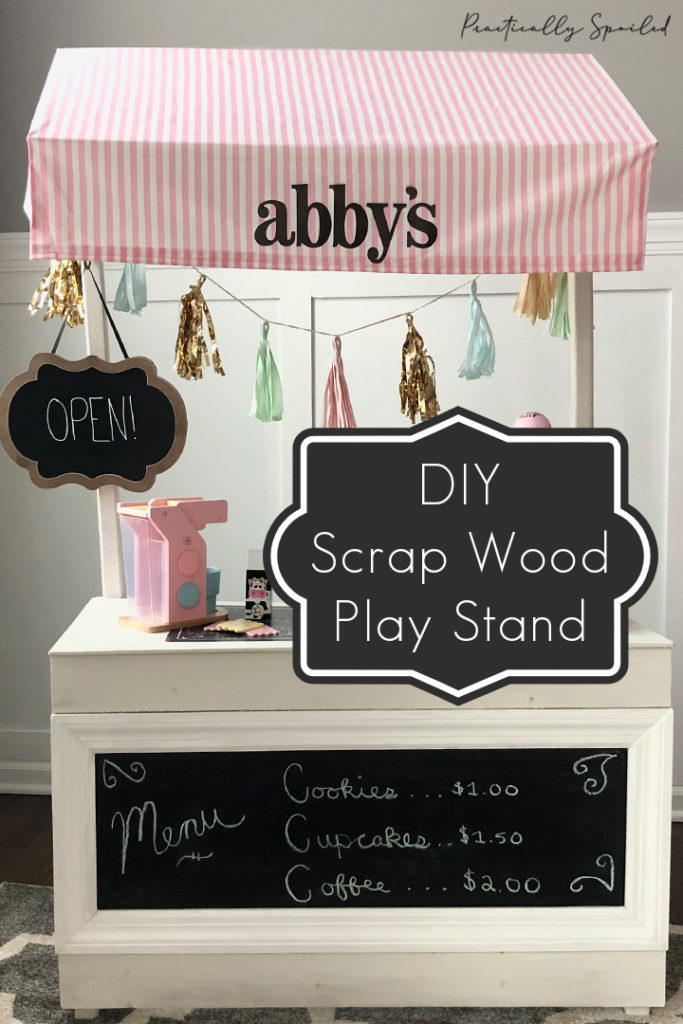
Sometimes mama just needs a break! While a long hot bath with a book or Netflix with some Pinot Grigio sounds relaxing, this mama was craving some DIY time.
My daughter was about 5 months old and I hadn’t touched a power tool in months. Hubs said, “go, go make something.” So I obliged. To the garage I went to assess my scrap wood pile. I grabbed paper and pencil and came up with a plan. A DIY scrap wood play stand was born! (Or as we call it “Abby’s Store”)
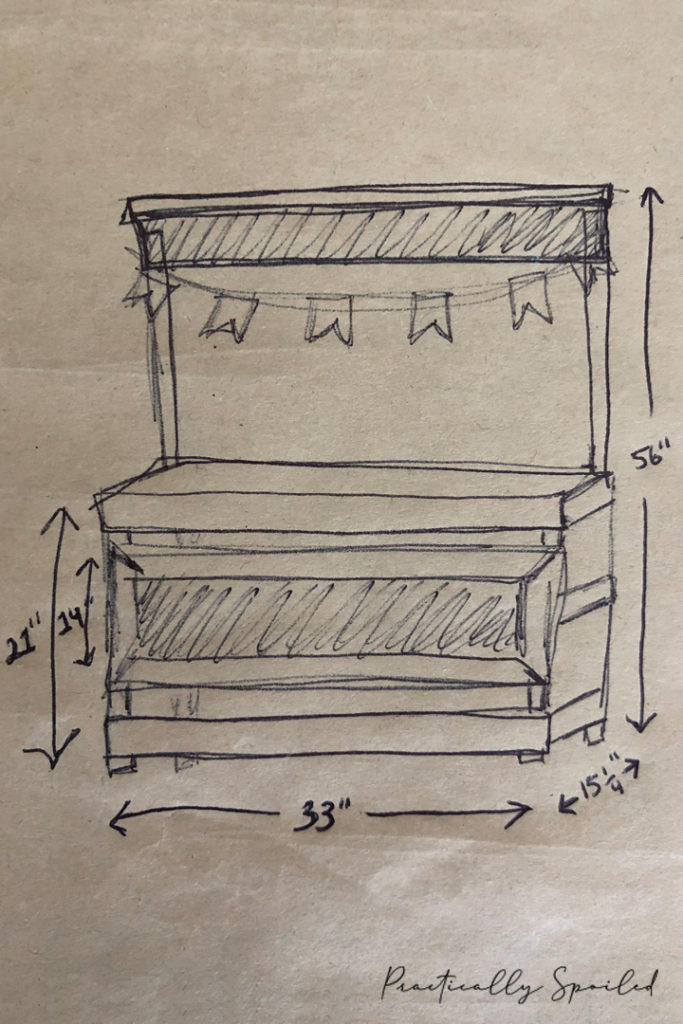
This was my plan/drawing, but I really just winged most of it. This project is flexible because you can modify it based on what scraps you have lying around. Make it smaller, change the awning to a flat sign (that was actually my original idea), leave off the chalkboard front, ditch the moulding, add a shelf – anything goes really!
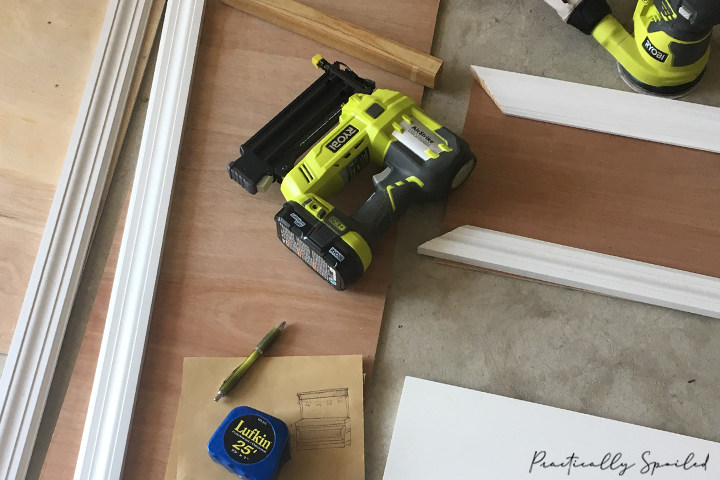
I grabbed my tools and started cutting and assembling. I used my Ryobi Airstrike nail gun to put it all together. My scrap woods were on the thinner side. If I were using thicker woods I would have opted to use screws.

Once assembled I filled all holes/gaps with wood fill, then grabbed my Ryobi Orbital Sander and went to town. With tiny hands in mind, I didn’t want any splinters! I even rounded out the corners of the plywood I used for the counter and awning. Then I wiped it down with a tack cloth before painting.
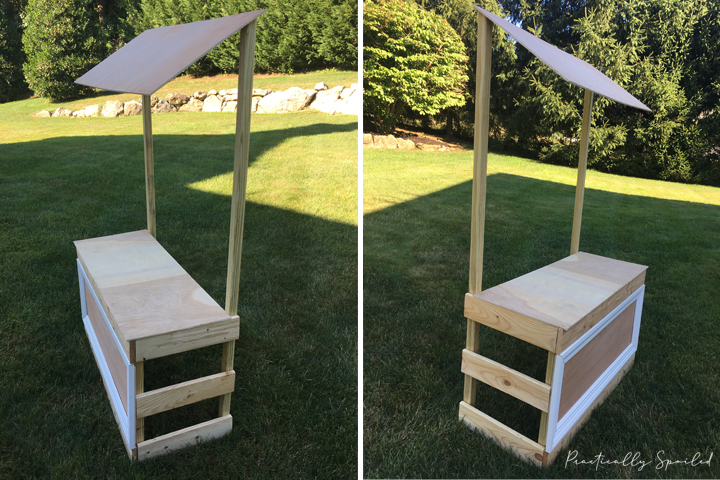
Ok, confession: I’m a little addicted to “Oops Paint.” Whenever I’m in Home Depot or Lowes I always check the area next to the paint counter that has all the product that someone messed up on. The paints aren’t bad, but maybe the color match was off or the customer selected the wrong color or even just the can got dented. They mark these “Oops Paints” down really low and you can grab some quality stuff for 75% off or more. I just happened to have a $2 can of an off white “oops paint” in my paint stockpile that was perfect for the play stand!
I mixed in some baking soda with the paint to give it a chalk paint type finish. The ratio is 1 part baking soda to 2 parts paint, add a little bit of cold water and mix really well until it’s not gritty.
Once the paint was dry I took a fine sanding block and gave everything a once over, intentionally distressing some areas.
When fully cured (a few days later) I used some Annie Sloan Clear Wax to seal the paint. This is optional, but prolongs the life of the paint job when using chalk paint.
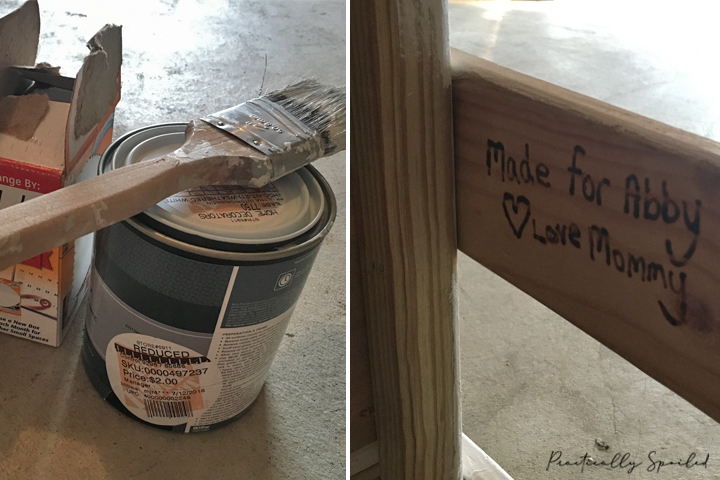
I also added a little note to the interior for my munchkin. I used this woodburner to do it before I painting.
I had some chalkboard paint on hand from another project so I used that for the chalkboard front. I did about 3 coats, as the wood really absorbs it.
While the stand looked really cute as is, I wanted to take it up a notch by sewing a custom awning. No pattern for this, again just winged it by laying the fabric over top and pinning, trimming and sewing as I went. I’ve actually made a few different awnings for the play stand, allowing it to transform into so many things!
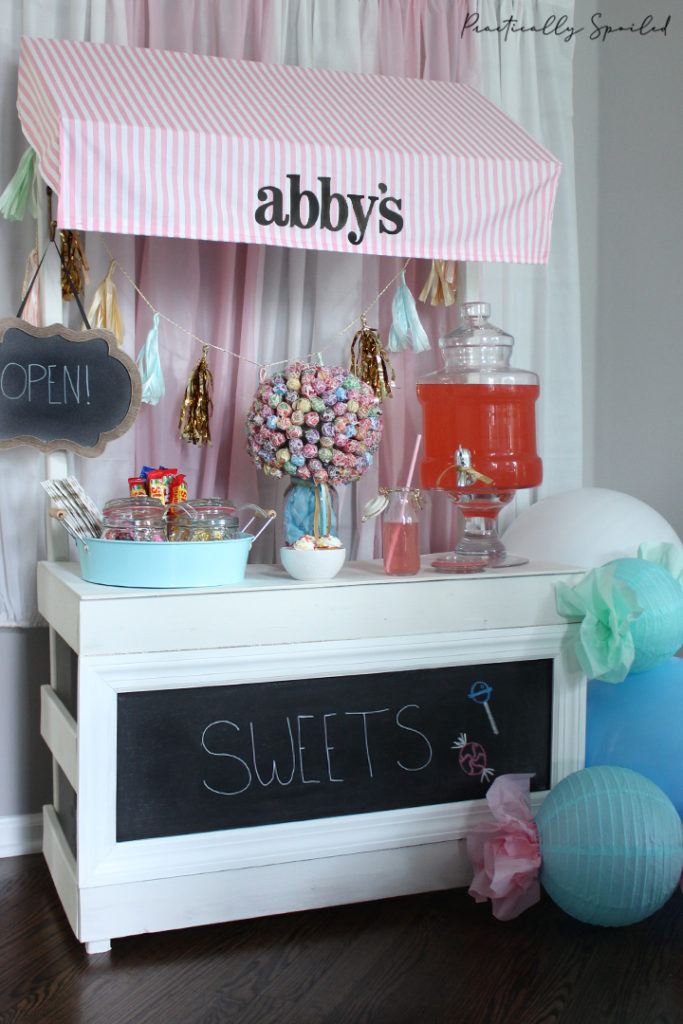
For my first few awnings I didn’t own a Cricut yet, so I found a work around for lettering. I used large letter stickers like these or these, and applied just a very thin coat of this fabric glue to the back of them. It worked out pretty well! You could also use iron on letters, but the fonts and sizes are limited which is why I chose to use the sticker with fabric glue method.
I added a decorative gold hook I had lying around to one of the front posts to hold a sign. (Chalkboard sign I found for 75% off at Hobby Lobby because it was missing the hanging string. I just glued ribbon on it, fixed! Similar style here.) Then I gorilla glued two small, inexpensive plastic hooks high on the back of the posts to hold decor. I glued them instead of using the adhesive strip so they would be permanent.
The whole project took about 2 days of on and off work, waiting for paint to dry. While my then 5 month old was a little too young to play with it, I used it as a candy stand for Abby’s “Sweet 6 Months” party. Yep, that’s right we threw her a 6 month birthday party.
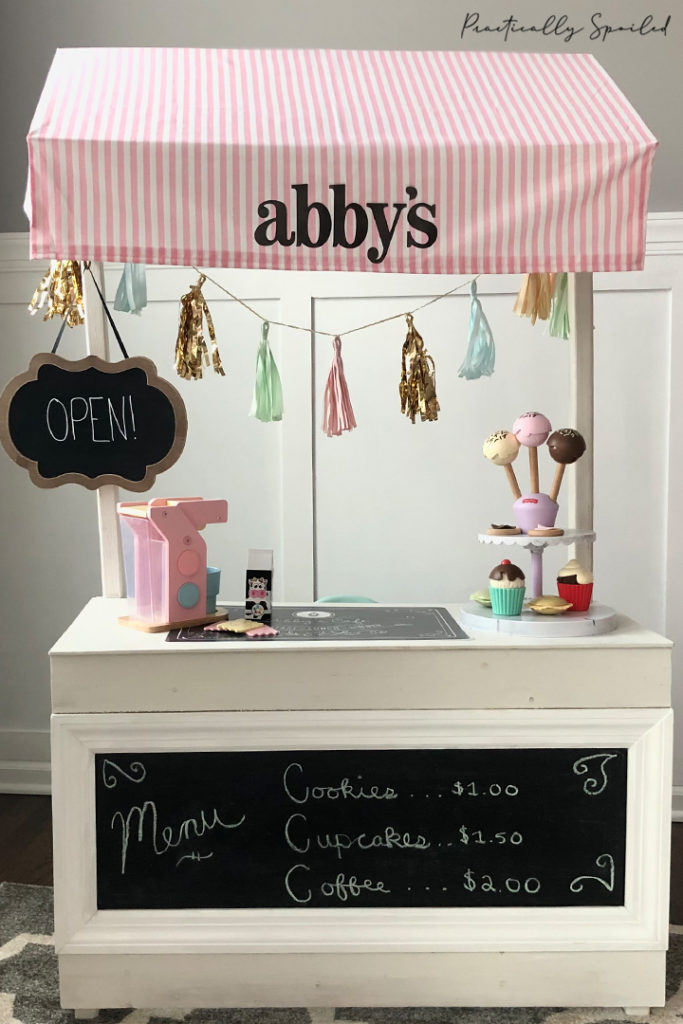
Today we use the play stand daily! Some finishing touches include this adorable tiered pastry set and pastel wooden coffee machine. I change the stand up for holidays and birthdays which I’ll share soon. It’s a really versatile toy that isn’t just absolutely adorable (if I don’t say so myself), but also promotes imaginative play.
Any other mama’s out there build things for their kiddos? Looking forward to my next project, drop some ideas below!

Such an informative article! All the information provided by you is really very helpful. I agreed that we should use a tack cloth for removing small dust particles from the surface before painting. It gives you smooth paint finishing. Thank you for sharing! Keep posting!
Thank you for reading!