This post is not sponsored, all opinions and instructions are my own. Please DIY at your own risk. This post contains affiliate links. As an Amazon Associate & RewardStyle Influencer I earn a small percentage from qualifying purchases at no cost to you. Thank you for your support!
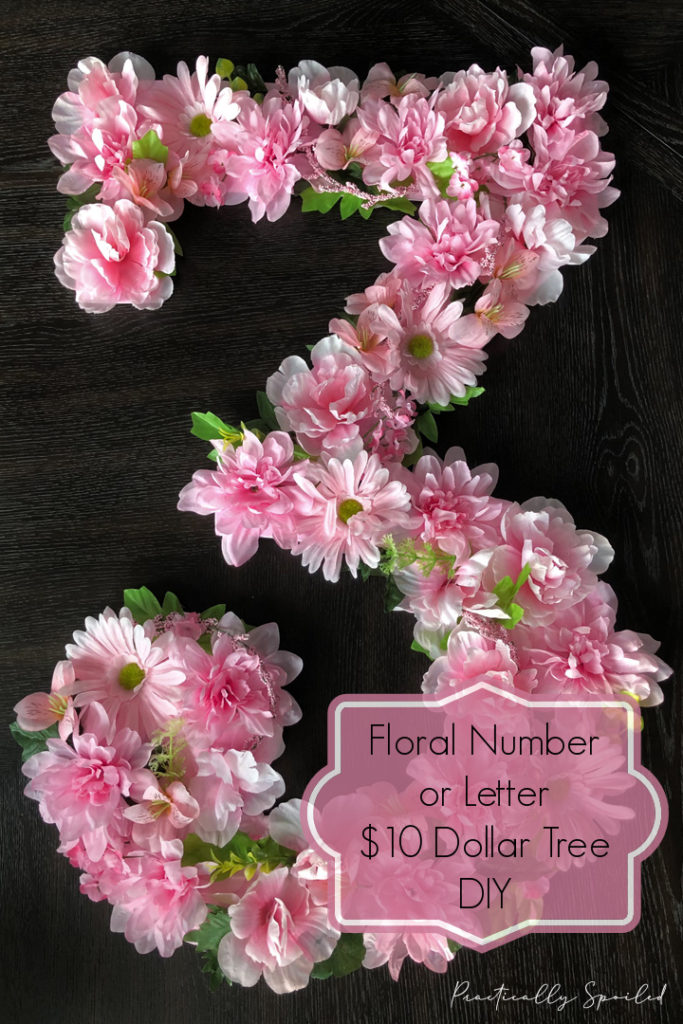
I absolutely love Dollar Tree. There are so many amazing crafts and high-style DIY’s that you can make from their selection of $1 items. When I was planning my daughter’s ‘Tea for 3’ themed birthday, I knew I wanted to make a large flower covered number 3 as the main piece of decor. I went searching for tutorials, but surprisingly came across very few. So I winged it, went to “The Tree” for some supplies and gave it a whirl. I have to say, it really came out great and it wasn’t hard at all! Here’s how I created it.
What you’ll need:
• Hot glue gun and hot glue
• A pencil
• A picture of the number you want to make. (Tip: Pick a font style with bold lines. It will be hard to recreate a thinner font style with florals)
• An X-Acto knife (and something to cut on such as a cutting mat or some old cardboard)
• A piece of foam board from Dollar Tree
• Approximately 9 bunches of faux flowers from Dollar Tree (That’s what I used, but depending on the size of the flowers you choose OR if you won’t be using greenery you might need a few extra bunches)
• Paint that matches the majority color of your florals and a paint brush
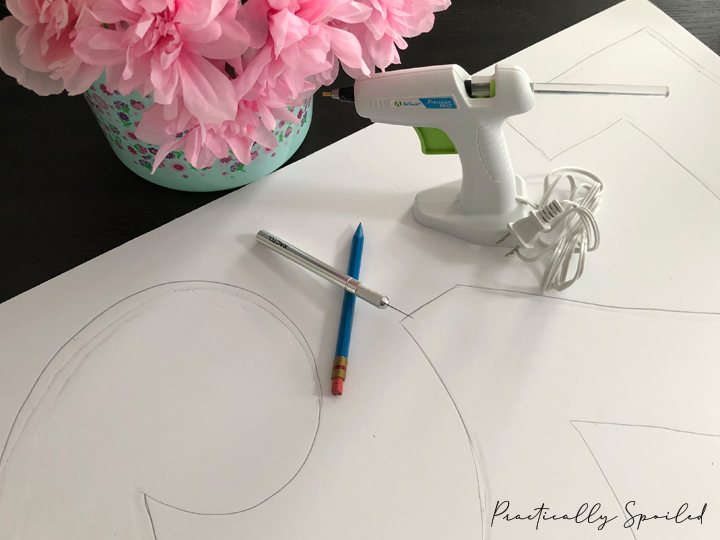
First you’ll need to sketch out your number onto the foam board. Take it slow, and step back as you draw each section to make sure you’re getting the desired outcome. Don’t be afraid to erase and redraw sections (This is why pencil is key!) It might look a little sloppy with all your corrections, but don’t worry. It will all be covered. The foam board I picked up was 36″ in length. I tried to maximize the size when drawing out my number 3.
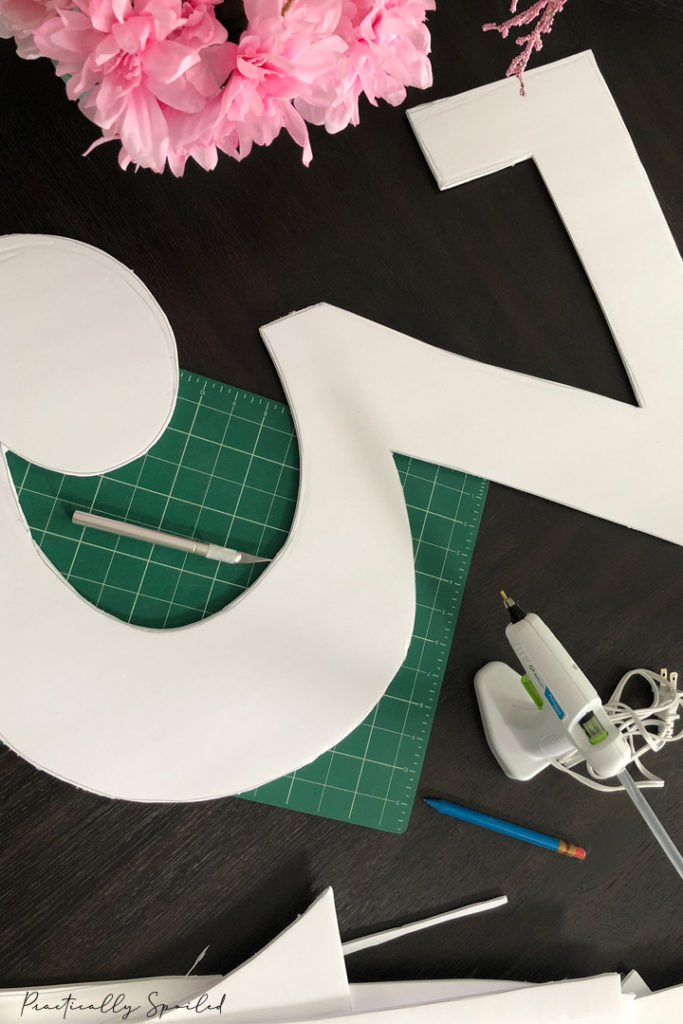
After you’re happy with the sketch of the number, it’s time to cut. CAREFULLY, using your X-Acto knife, follow your lines and cut it out. Using a new, sharp blade is key in getting good cut lines. If they come out a little jagged, don’t worry. This project is very forgiving to small mistakes and the florals will cover them up.
Once it’s cut out it’s time to paint it – both sides. I used some acrylic craft paint I had on hand and did a light coat. Try not to slap it on too thick, this is just to help hide any bald areas when you lay out the flowers. You’ll notice that as your paint dries you foam board will curl. Don’t panic! When you flip it to paint the other side it will magically unfurl. And if for some reason it doesn’t after it’s fully dry, put it under some books for half a day and it will flatten out.
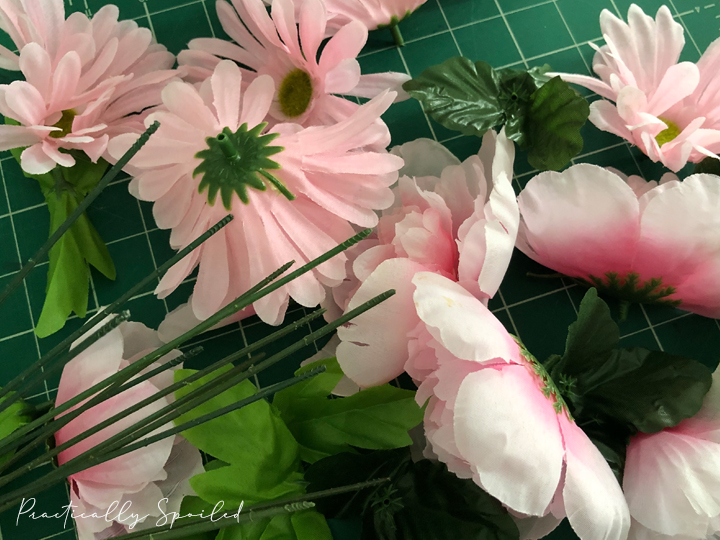
While it’s drying, get your florals prepared. Simply pull the flowers off the long stems and a make a pile. Do the same for all the leaves/greenery. You’ll notice they’re held together by a small green plastic nub – don’t pull them off the nub.
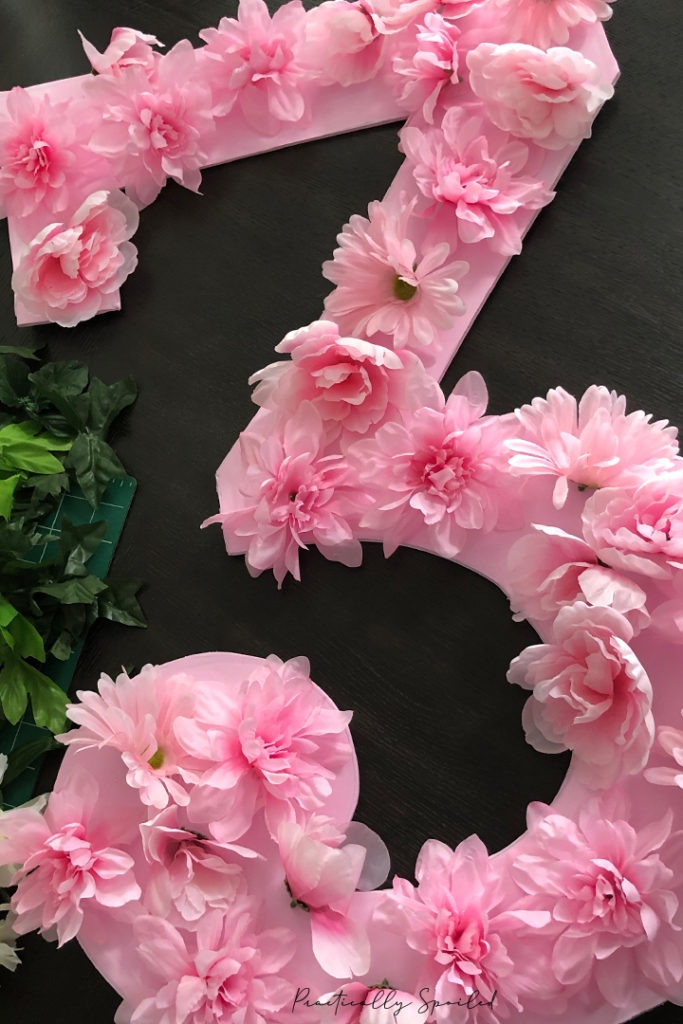
When the number is dry, you’ll want to roughly lay out your design. This will help a) determine if you have purchased enough florals and b) make it easier to create a consistent design without bunching too much here, or having too many daisies there, etc… I chose to just lay out a majority of the main flowers first, and then go back to fill in the spaces with greenery and more flowers.
To adhere them to the board, take the flower and simply press that small green plastic nub on the back into the board. It will probably come out the other side. Then lift it out, dab some hot glue on the nub and around the bottom base of the flower and place it back into the hole. Don’t let your hot glue gun linger on the plastic nub too long, it will melt it. Repeat this process for all of the florals and greenery.
As you’re filling in spaces, don’t be afraid to manipulate the florals. Take some hot glue and apply it to the back of the petals to get them to stay down or spread out. Overlap the flowers and tuck the greenery behind them to get a full look. Also overhang the florals slightly over the edges of the foam board. You want to hide your edges, but not lose your shape. Keep going until you’re satisfied. As a Type-A Virgo, I had to tell myself to stop haha!
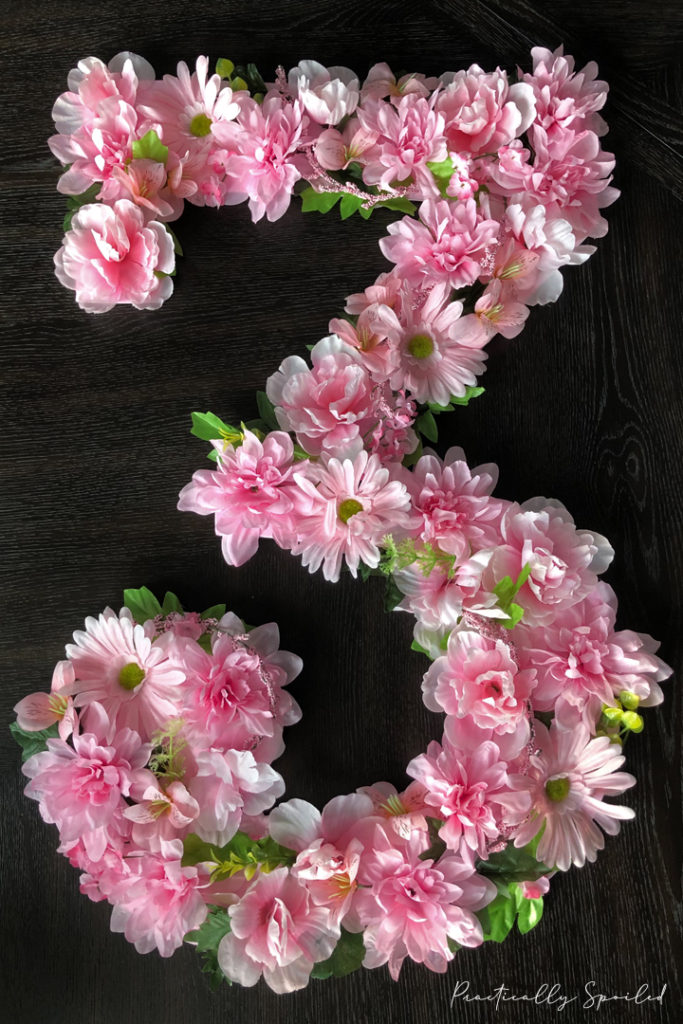
And this was the finished product! Insert heart eyed emoji here. For just $10 (I only needed to purchase the foam board and flowers) and about an hour of time, this Dollar Tree DIY was a success. To hang it up I simply used a command hook.
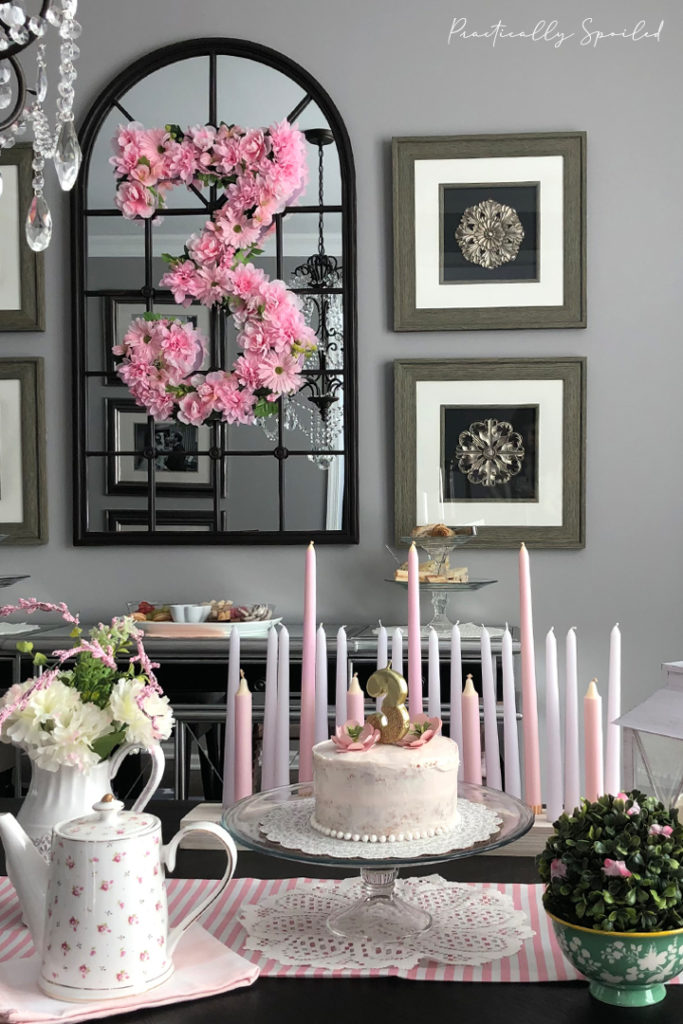
It made such a beautiful focal point for the ‘Tea for 3′ party! You can also do a letter instead of a number. How cute would a big floral letter be in a little girl’s room?
If you give this DIY a try, drop a comment below and let me know how it came out!

[…] what age the birthday girl or boy is turning, you can make this $10 DIY craft to celebrate! These floral numbers would be perfect for any tea party […]