This post is not sponsored, all opinions and instructions are my own. Please DIY at your own risk. This post contains affiliate links. As an Amazon Associate & RewardStyle Influencer I earn a small percentage from qualifying purchases at no cost to you. Thank you for your support!
I’m sure by now you’ve seen, heard of, bought, tried, or maybe even made Hot Cocoa Bombs. As a fun Valentine’s Day activity, we decided to make some of these trendy treats!
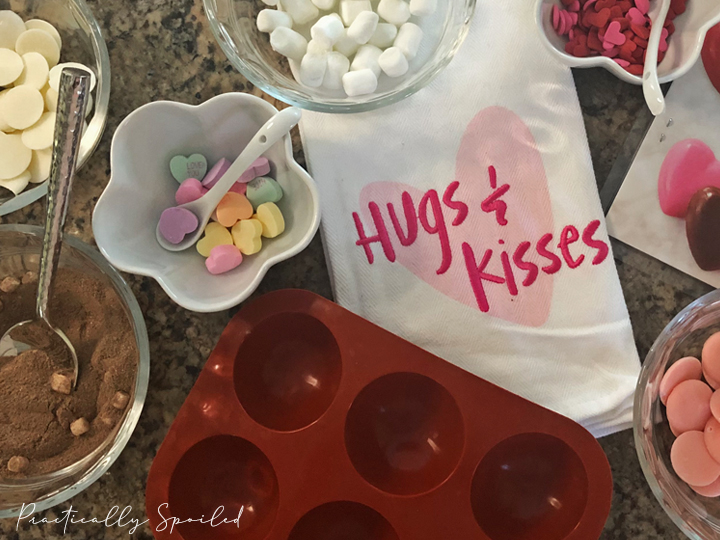
Here’s what we used:
• Candy Melting Wafers in your choice of flavors like these or these (chocolate chips work too!)
• Hot Cocoa Mix
• Mini Marshmallows
• Edible decorations. We used mini conversational hearts and some Wilton Valentine’s Sprinkles. I also made some chocolate hearts for the top with the melting wafers using this mold.
I found it easier for me and Miss Tiny-Toddler-Hands to work from small prep bowls instead of from bags. So first, I prepped our Hot Cocoa Bomb creation station.
Once set up, I melted the candy wafers and chocolate chips in the microwave. Depending on how much and what brand you use, times will vary. A good rule of thumb is heat in 30 second intervals, mix well, then add time as needed until melted to be slightly drippy, but not runny.
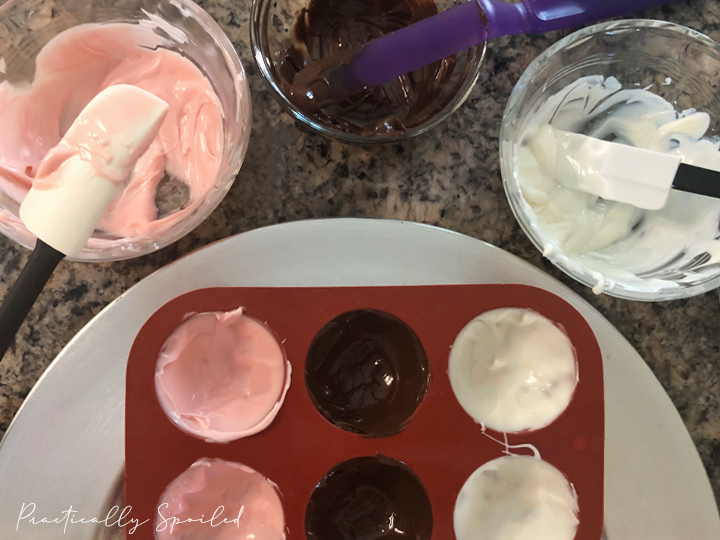
Using small spatulas I coated the cocoa bomb molds. Spoons work fine too. You want to cover the area with a not-too-thin and not-to-thick coating. Try not to leave too much excess on the edges, wipe them up if they get messy. Then pop the molds in the fridge for 5-10 minutes to firm up. (Note: The molds are silicon and floppy so make sure to put them on a plate or tray for easy transfer in and out of the refrigerator.)
Once they’ve firmed up, you’ll want to do a second layer over the first. Most likely your candy wafers and/or chocolate will need a few seconds of reheating and a mix-a-roo to get back to the right consistency. Then pop them back in the refrigerator for another 5-10 until they’re solid.
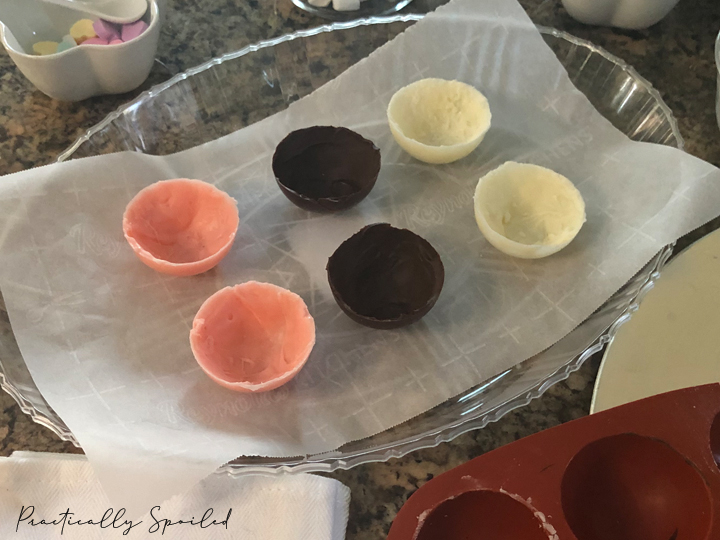
Once set, it’s time to pop them out of the mold. Very carefully pull back the molds and push them out. Place them on some wax or parchment paper. Some people say if you cut the molds apart (so each half sphere is separate) it makes this process much easier. If your hands are warm you might find that you’ll get a fingerprint or two on the half spheres. You can avoid this by wearing a pair of kitchen prep gloves.
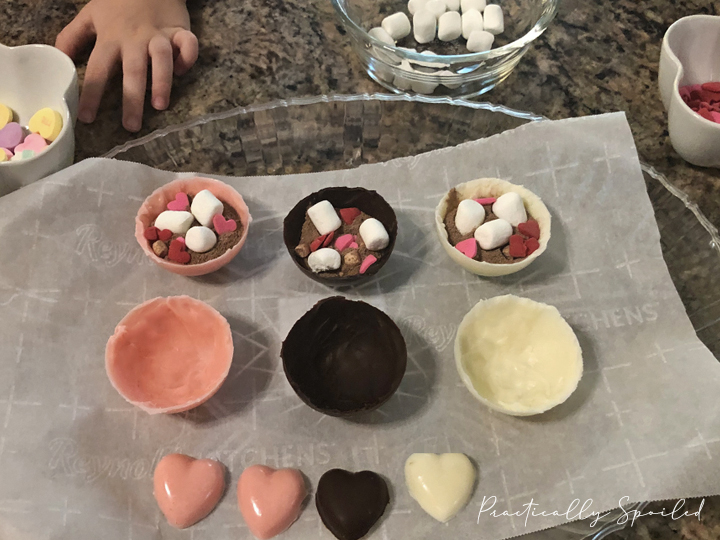
Now for the part my toddler loved the most – filling the hot cocoa bombs! We put about a tablespoon of hot cocoa in 3 of the half spheres. You only want to fill one side. We added a few marshmallows and some sprinkles. It was actually a great counting exercise! I told her how many to put in each, which colors, etc… And don’t be shy on the marshmallows, we added a bit more after this pic was taken. Then pop them back in the fridge for a few while you prep the next step.
To seal them up, place a frying pan on the stove and warm it for about 2 minutes on med-low then turn off the stove. Grab your bombs from the fridge and one by one take the tops and quickly touch them to the hot pan to lightly melt the edges. Place it directly on top of the filled side and hold it for a moment while it sets up. Once you’ve capped them, it’s time to decorate!
You’ll need to reheat the melting wafers and chocolate just once more for this part. To get a good drizzle you’ll want the consistency to be a bit runnier than before. Using a spoon, dip into the melted wafers and then drizzle over the hot cocoa bombs on the parchment paper. Be careful not to put on too much and avoid large drips, you could melt a hole. If you’re adding sprinkles or other candy decor, do so quickly before the chocolate sets up. Once decorated, place back into the refrigerator for about 5 minutes to set. They can be stored in an air tight container on the counter for about a week or so.
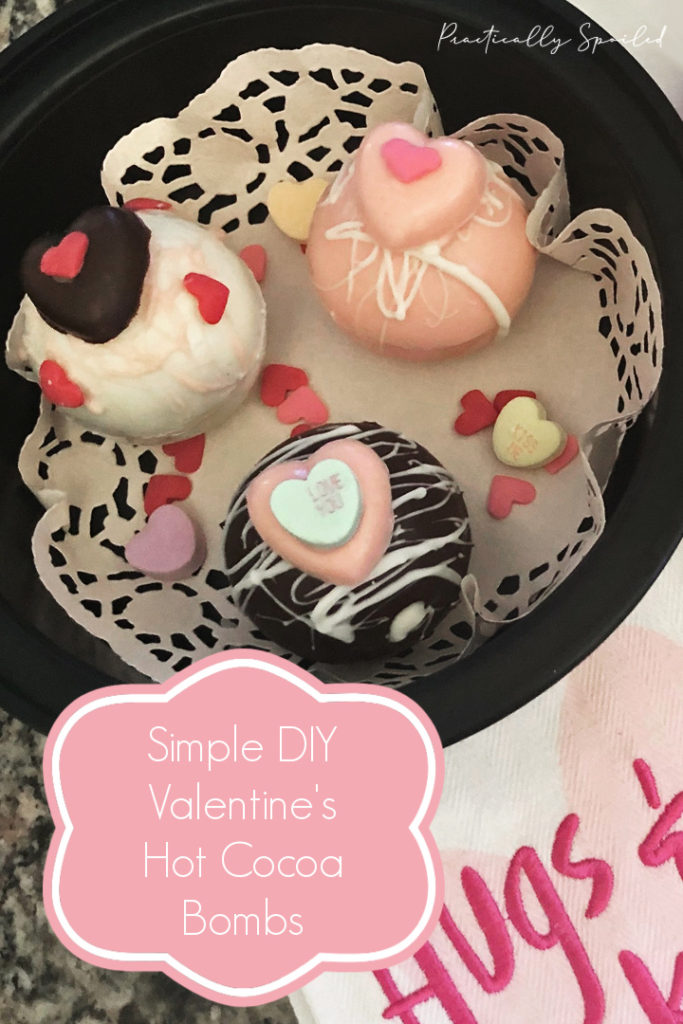
And thats it! They’re really not hard to make, and on the mess scale I’d give it a 3 or 4. Baking is MUCH messier!
To serve, place the hot cocoa bomb in a mug and pour about 6 – 8 oz of hot milk or hot water over it. It will rupture and you’ll see all the fun stuff you put inside float to the top. Give it a few good mixes, then enjoy! In the picture below I topped it off with a few more marshmallows and sprinkles, just for fun.
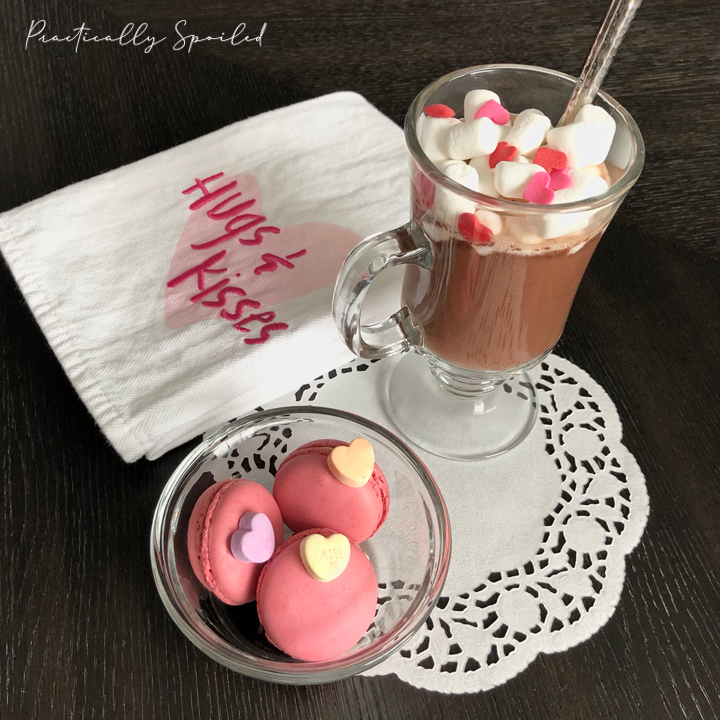
Hope you all have a Valentine’s Day as sweet as these hot cocoa bombs. Drop a comment below or hop on over to my Instagram @PracticallySpoiled and let me know if you decide to give them a go!

These are beautiful!! I can see little Abby hands in the pic . Love u 😍
Thank you! I had an excellent helper as you can see 🙂