This post is not sponsored, all opinions and instructions are my own. Please DIY at your own risk. This post contains affiliate links. As an Amazon Associate I earn a small percentage from qualifying purchases. Thank you for your support!
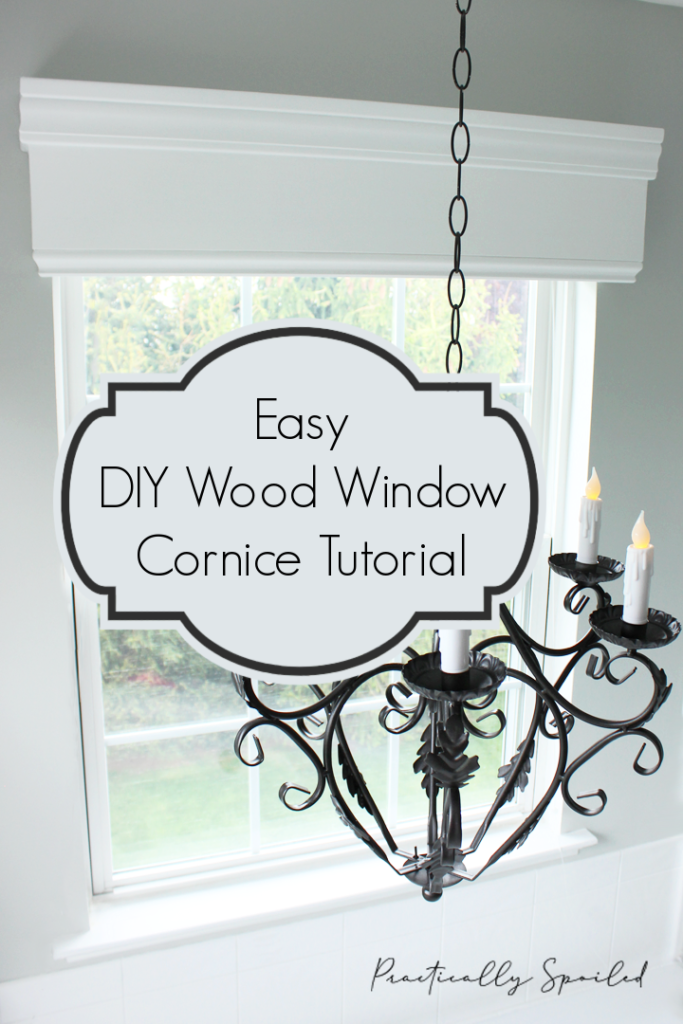
Have you ever envisioned something, but couldn’t find exactly what you were envisioning? That’s what happened with treatments for my bathroom windows, so I set out to DIY some. Since my original bathroom makeover post I’ve been asked about these cornices so many times. This is a long overdue tutorial! Here’s how you can create your own.

DIY Level: Beginner to Intermediate (If you have the right tools, it’s not hard!)
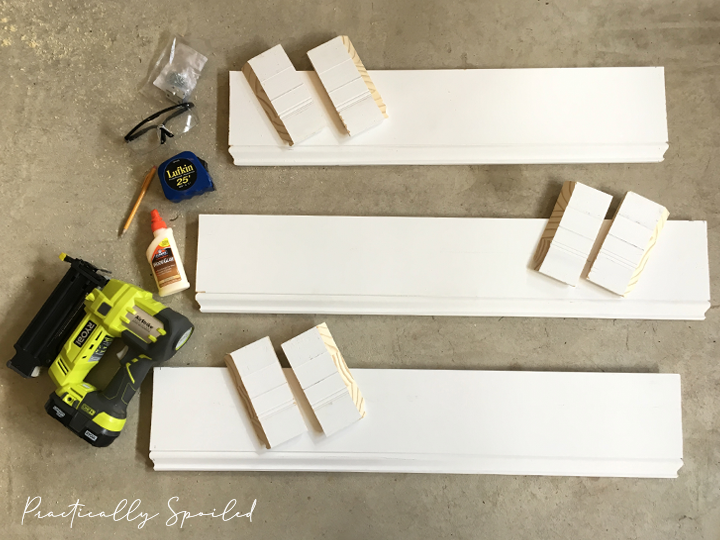
You’ll need:
• A bare window in need of a beautiful cornice.
• A miter saw.
• Tall, pre-primed base molding. What I used was 7 1/4″ tall.
• Casing molding. What I used was 3 1/4″ tall, and it was not wood, but injection molded. It’s nice for this project because it’s lightweight. I used this to frame my mirrors and thought it would be nice to continue using it here.
• A Ryobi AirStrike or other brad nailer.
• Corner brackets and screws like these. And these.
• Wood glue.
• Wood fill.
• Your Choice of Paint. I used white semi-gloss trim paint.
STEP 1: The first thing you’ll need to do is decide how wide, tall and deep you want your cornice to be. I wanted mine to fit snugly atop my windows, overlapping a bit, just to hide the blinds that are mounted inside the windows. I wanted their height to give the illusion that the window was actually larger than it is. The depth did not need to protrude much off the wall, but I wanted it to stand off the window for dimension. Keep in mind if you have blinds mounted on the exterior of your windows or if you have moldings/trim around your windows you need to take these into account for all of your measurements. For example, the windows over my corner tub measure 35″ wide. I chose to make the cornices roughly 37.5″ wide, by 10″ high, by 3.5″ deep. I used these measurements to figure out how much material to use.
STEP 2: Draw it out. It always helps me to draw out my idea with measurements before hand. If it’s only ‘in your head,’ you’ll probably screw up. You don’t have to be Picasso, just a rough sketch allows you to visualize and write down measurements against it.
STEP 3: Gather your materials. I purchased my moldings at Lowes. Linked above! Inventory changes and varies store to store, so you may not be able to find these exactly, but can easily replicate with similar products. You will need slightly more material than your exact measurements as you’ll lose some material when cutting angles. To put them together I used my Ryobi Airstrike (I’m constantly raving about this thing, have you purchased one yet?) and these brackets.

STEP 4: Measure twice, cut once. Ensure your measurements are correct and get cutting. Cut the base molding first. You’ll see I flipped the base molding upside down to have the base detail on the bottom, as I used the casing on the top.
Cut your front piece to your overall width measurement. Using a miter saw angle the saw to 45 degrees left, lay the base molding flat and make your left cut. Then take your measurement again, angle the miter saw to 45 degrees right and make your right cut.
Now cut your side pieces. The left side piece will have a straight zero degree cut on the left side and a 45 degree right cut on the right side. The right side piece will have a zero degree straight cut on the right side and a 45 degree cut on the left side. Ensure your molding pattern is laying the same way when making cuts so everything will line up.
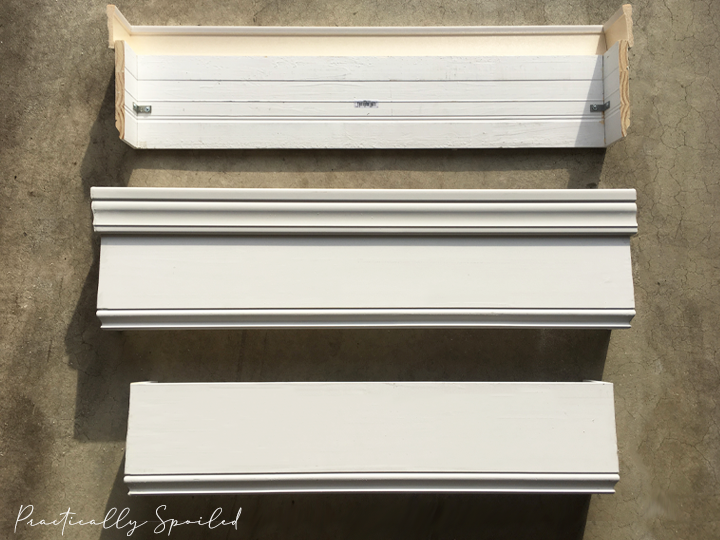
STEP 5: Now assemble just the base molding into its shape. Run a bead of wood glue at the joints. CAREFULLY using your Airstrike and small brads, reinforce the corners with two or three brads.
Now turn it around and screw a corner bracket in each corner of the cornice. (That was a silly sentence…) Make sure you’re using wood screws that are short enough to not come out the other side! If your brackets come with screws you might have to buy different ones depending on the thickness of the base molding that you’re using.

STEP 6: Now measure for the casing. It will NOT be the same measurement as the base molding. It will be slightly larger, as it will wrap around the top half of the base molding. After getting your measurements, cut the casing pieces – front, left and right sides – in the same manner you cut the base molding (see step 4 again.)
STEP 7: Take your cut casing pieces and figure out how high or low they need to sit on top of the base molding to get your overall desired height of the cornice. Place them over the cornice that you already assembled. Use construction adhesive and one brad in each corner to hold it in place.
STEP 8: Allow the glue to dry (a few hours should be fine depending on weather). Once it’s dry, fill holes with wood fill and caulk the corners and underneath the casing so it looks seamless. Allow to fully dry. (refer to your caulk’s directions for drying time)

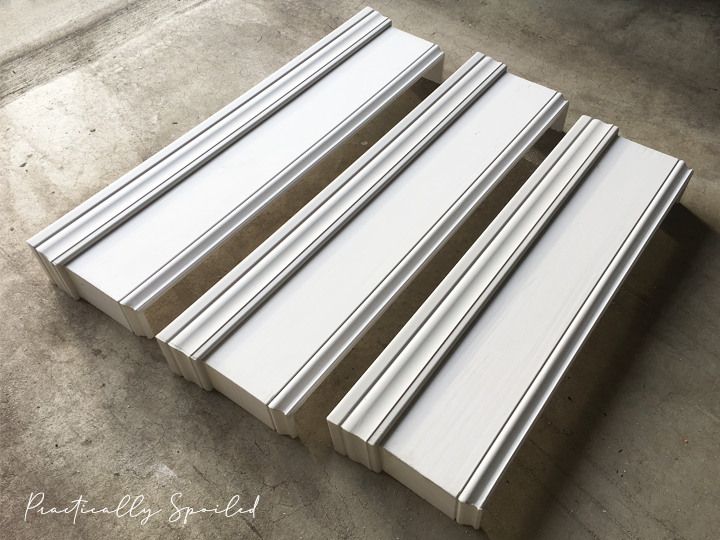
STEP 9: Paint the whole cornice. If your cornice will be sticking out from the wall far, consider painting the interior as well. I used un-tinted trim paint in a semi gloss finish (linked above.)
STEP 10: Hang it up! I used another set of different corner brackets like these to hang the cornices. I first installed them on the cornice to I could level it and mark the wall for screws. You’ll need the help of another person to do this, unless you’re an octopus. Then you might be able to do this yourself. Once I marked the wall, I took the brackets off the cornice and installed them on the wall. I used these AWESOME anchors that are easy peasy. Always make sure you’re using the appropriate anchor for your wall if you will not be installing the brackets directly into studs. Then, again with help holding the cornice up, I manually screwed the small screws back into the cornice to attach it. A drill would not fit in the narrow space, so keep that in mind.

Viola! Gorgeous, custom wood cornices! They add so much to this space. I am really happy with how they came out. And if you’re wondering how they hold up, well I made them nearly 3 years ago and they’re still looking great (even in a steamy bathroom!)
The project took about a day to complete, only because of drying times. Though my instructions may seem long, these actually came together relatively quickly and easily. Because I had most of the assembly supplies, extra casing from framing out my mirror and some leftover paint on hand, this project only cost me $43 to make THREE cornices!
Will you be making your own? Let me know in the comments below if you do!

Great job! Where did you get your chandelier ?
Thank you! Amazon, I have it linked here.